Synergee Games Barbell (20kg)
Barbells & Bumper Plates
92
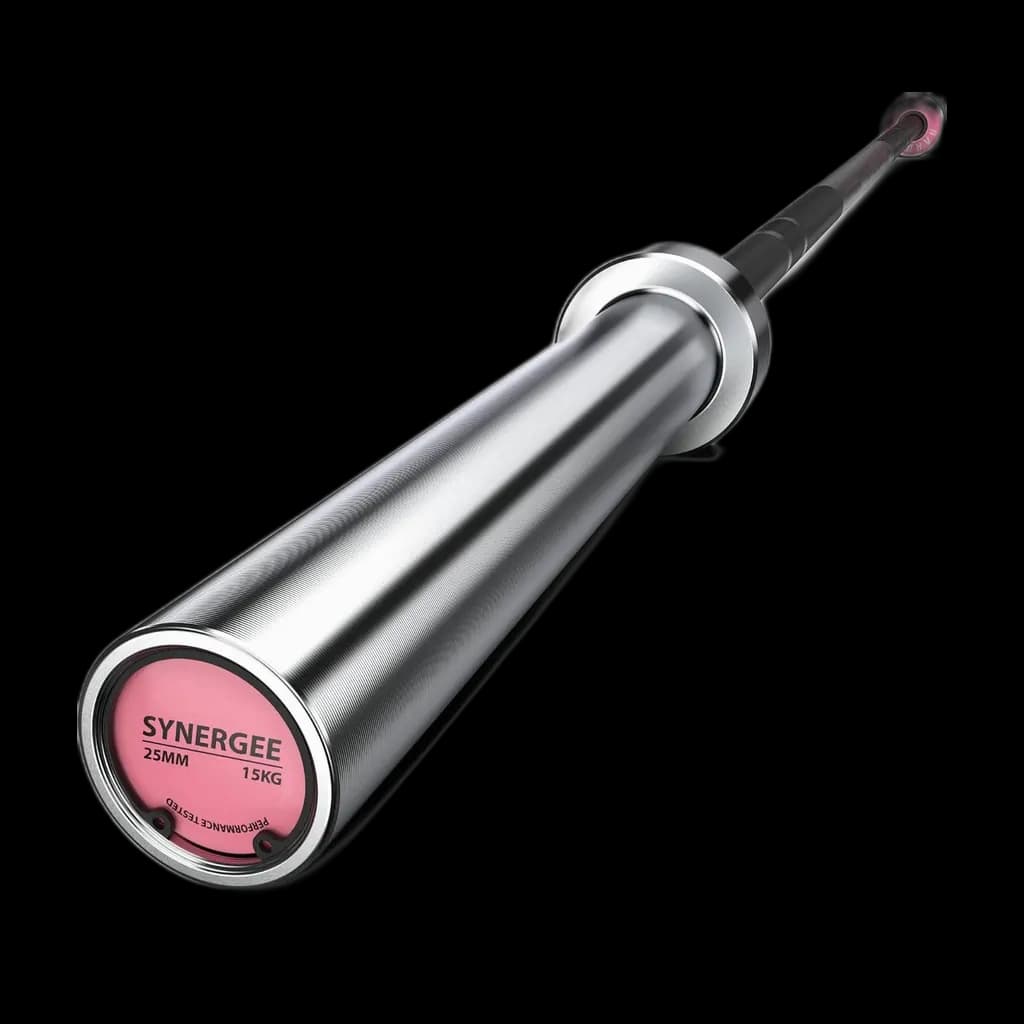
Best for: CrossFit-style home programming with cleans and snatches
$169.95Buy on Amazon
How GymScored is paid: Amazon Associates commission plus brand-direct affiliate (Rogue / REP / Titan when approved). No sponsored placements, no paid reviews, no pay-to-rank. Picks are ranked by the Gym Score formula and nothing else. Read the full disclosure.
If you are building a strength gym, this is the order: rack first, then bar and plates, then bench. Cardio and recovery come after these four. The picks below assume that order.
The three highest-scoring picks in this hub that are in stock at a price we could verify this week.
Best for: CrossFit-style home programming with cleans and snatches
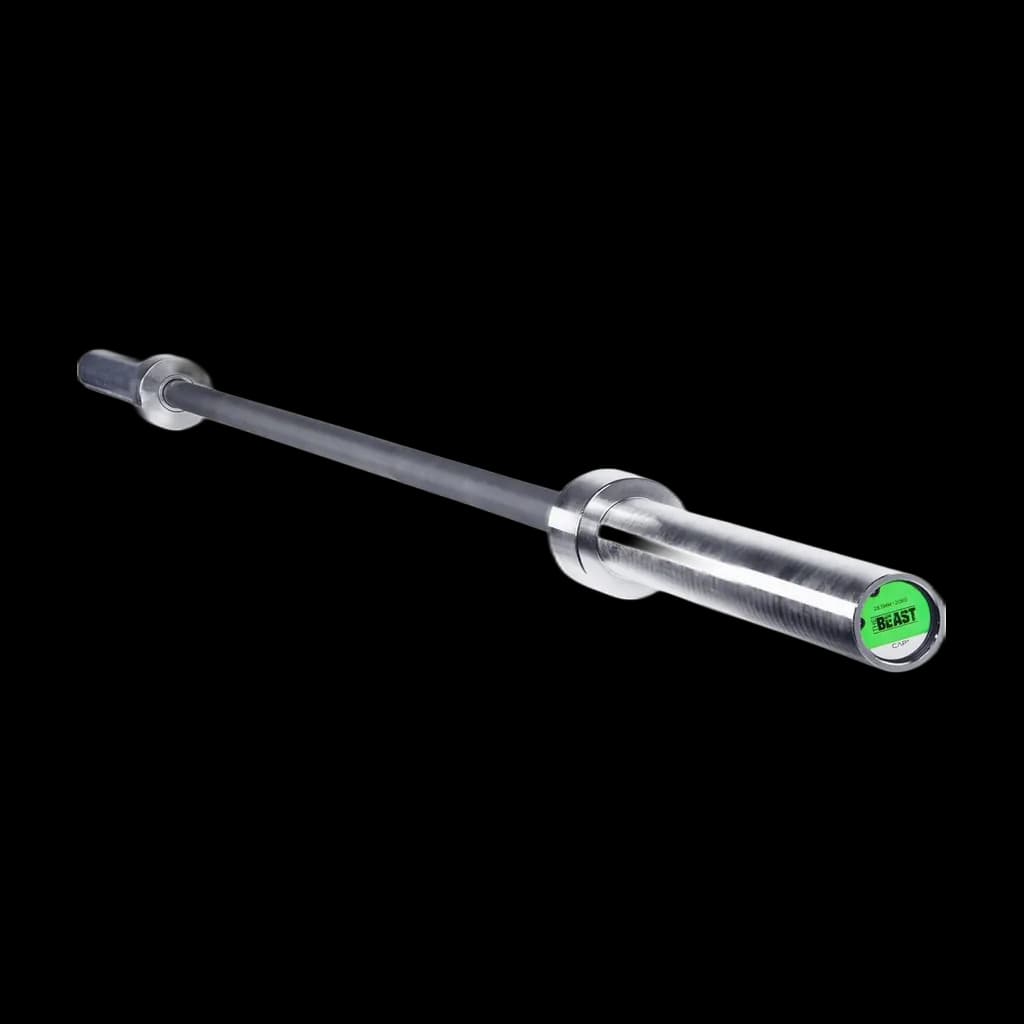
Best for: First serious barbell for a lifter under 405 lb in any compound lift
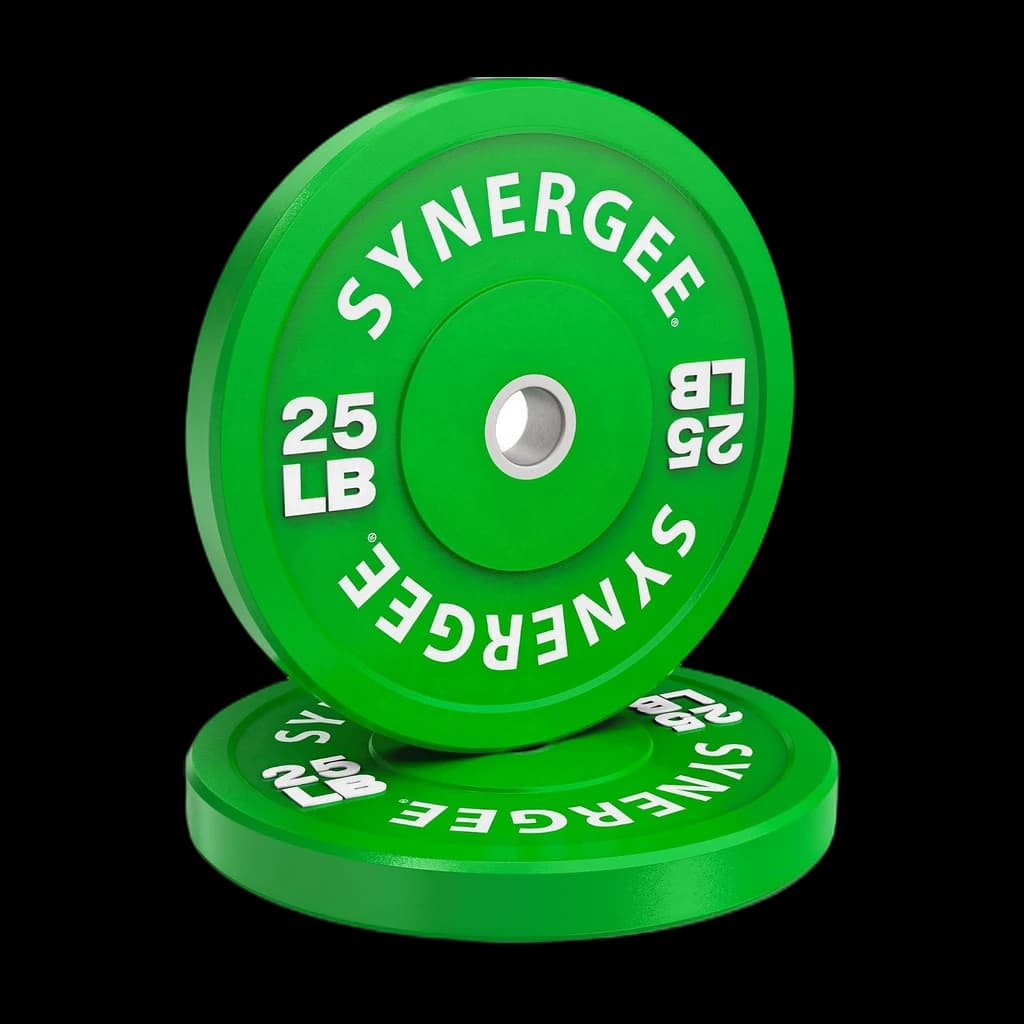
Best for: Building a plate set one jump at a time instead of buying a fixed package
A strength gym is four pieces in a fixed order. If you skip the order — buy the bar before the rack, the bench before the bar — you end up with stalled progress and equipment you can't use safely. Every serious home strength build follows the same sequence, and the picks on this page assume it.
Four pieces: a power rack, an Olympic barbell and plates, an adjustable bench, and rubber flooring underneath. That is the entire core. Cardio is a different goal. Recovery is a different category. Build the four pieces first.
Floor footprint: a 4×4 or 4×6 rack with bar pull-out and bench rotation needs roughly 10' × 10'. A 4×6 rack with pull-up bar overhead needs a 9' ceiling minimum to do strict pull-ups without ducking.
The rack is the only piece you cannot work around. You can press dumbbells without a bar. You can squat with safety bars in a rack. But you cannot back-squat a barbell safely without a rack to catch the bar if you miss. Buy the rack first, every time.
Plates before bench because you can bench off the floor with dumbbells, but you cannot squat without weight. Bench last because it is the easiest piece to substitute (any sturdy bench works for pressing in the first six months).
The most expensive pitfall in strength builds is buying a 2"×3" rack to save $200. The wobble at 350+ lb is alarming, the attachment ecosystem is shallow, and resale is roughly half what 3"×3" racks hold. Spend the extra $200 once.
The second pitfall is buying cheap iron plates. Knurling at the holes wears off, paint chips, and they ding the bar shaft on every load. Quality bumper plates or coated iron plates last decades; cheap plates last a year.
Suggested build order
Best for: CrossFit-style home programming with cleans and snatches
Best for: First serious barbell for a lifter under 405 lb in any compound lift
Best for: Building a plate set one jump at a time instead of buying a fixed package
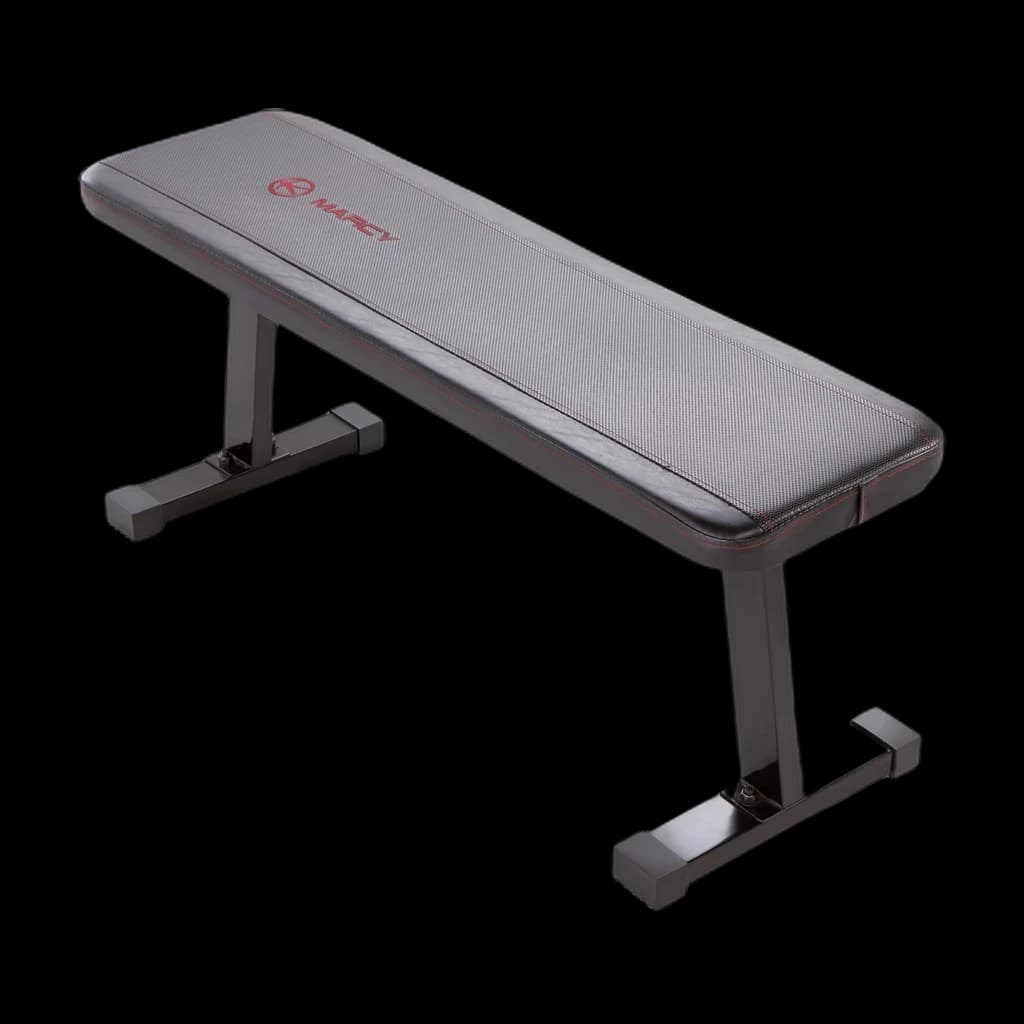
Best for: A dedicated flat bench for barbell and dumbbell pressing, rows and step-ups, where an adjustable bench is more mechanism than the job needs
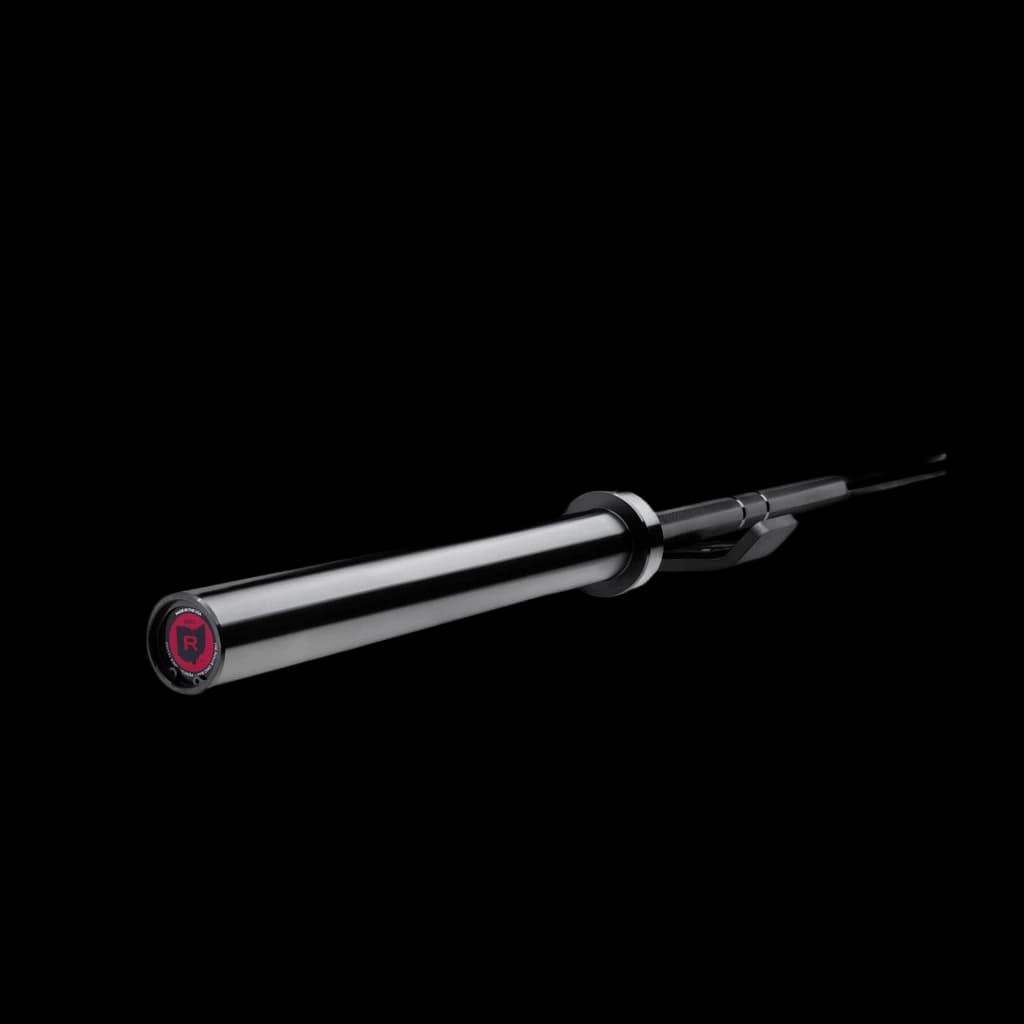
Best for: Default home-gym barbell for general strength work
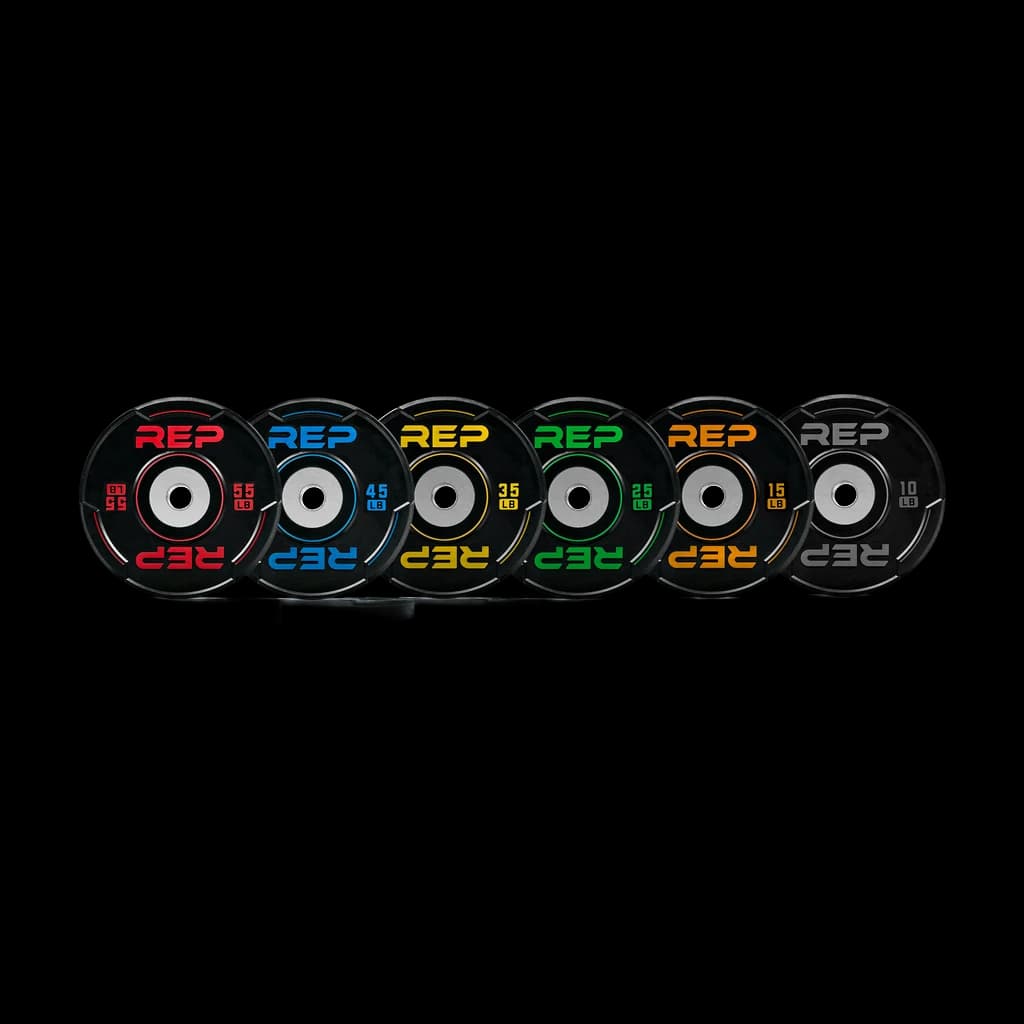
Best for: Home gyms with apartment-adjacent neighbors
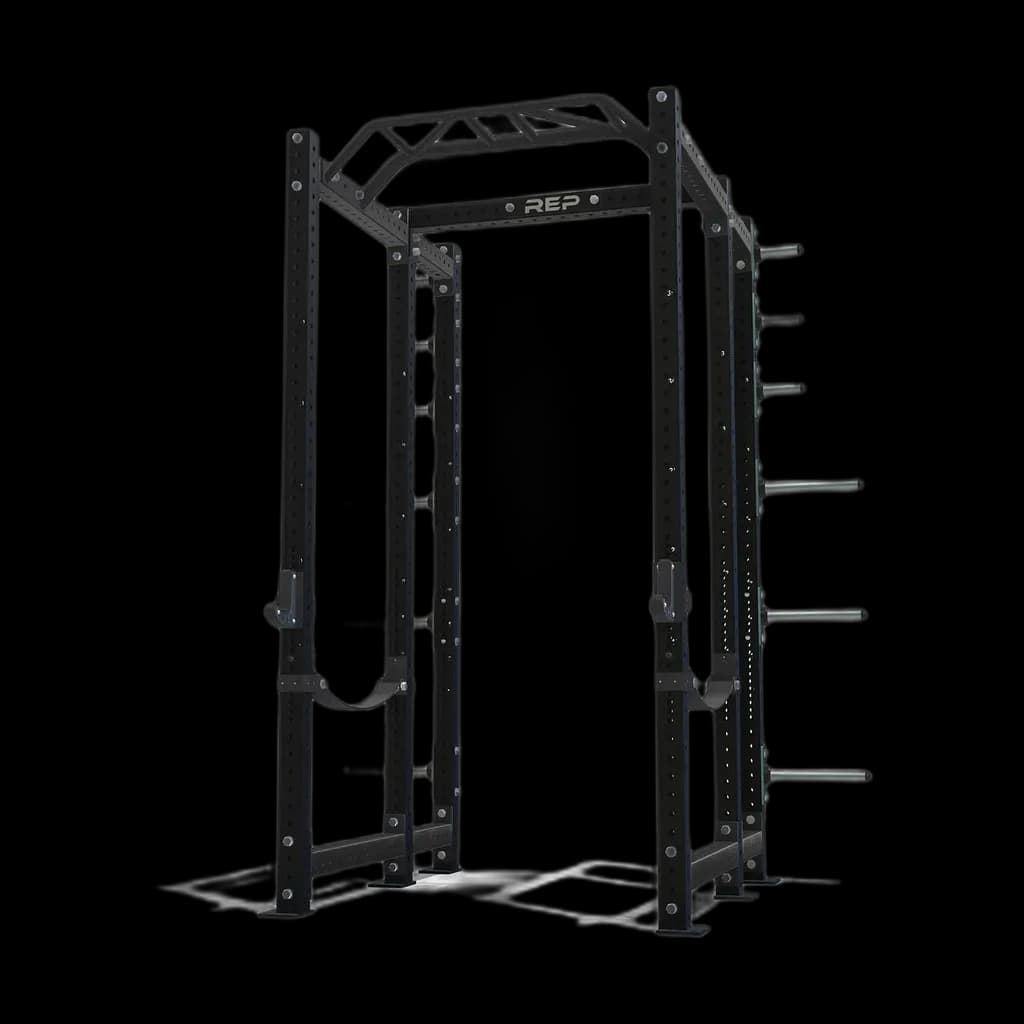
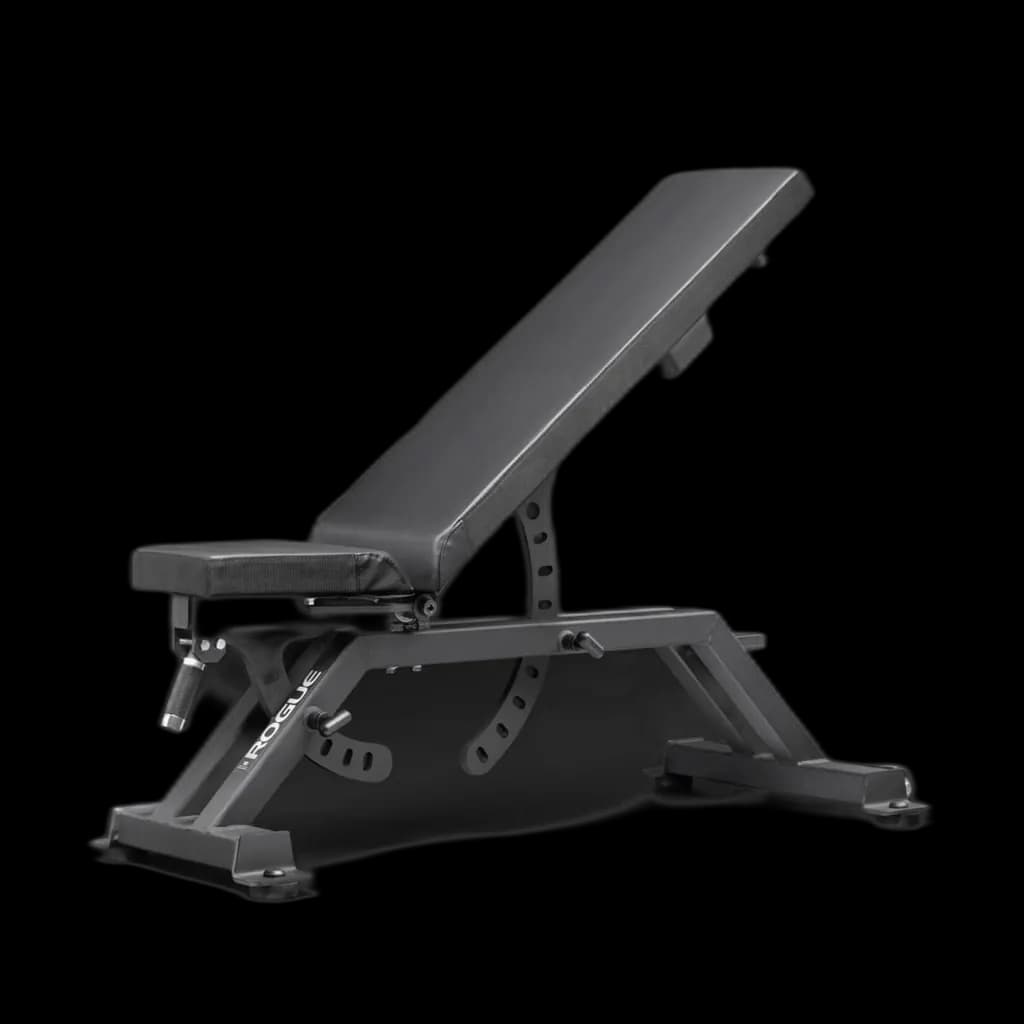
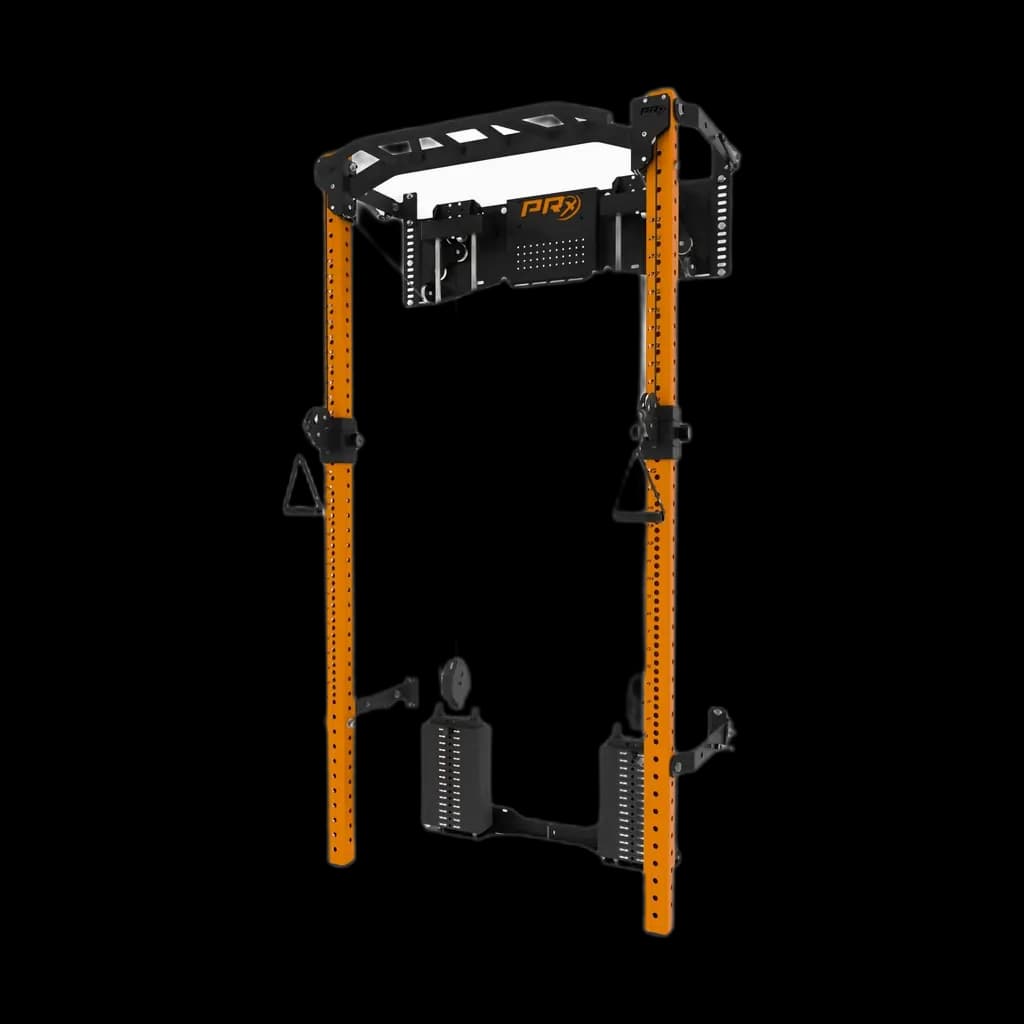
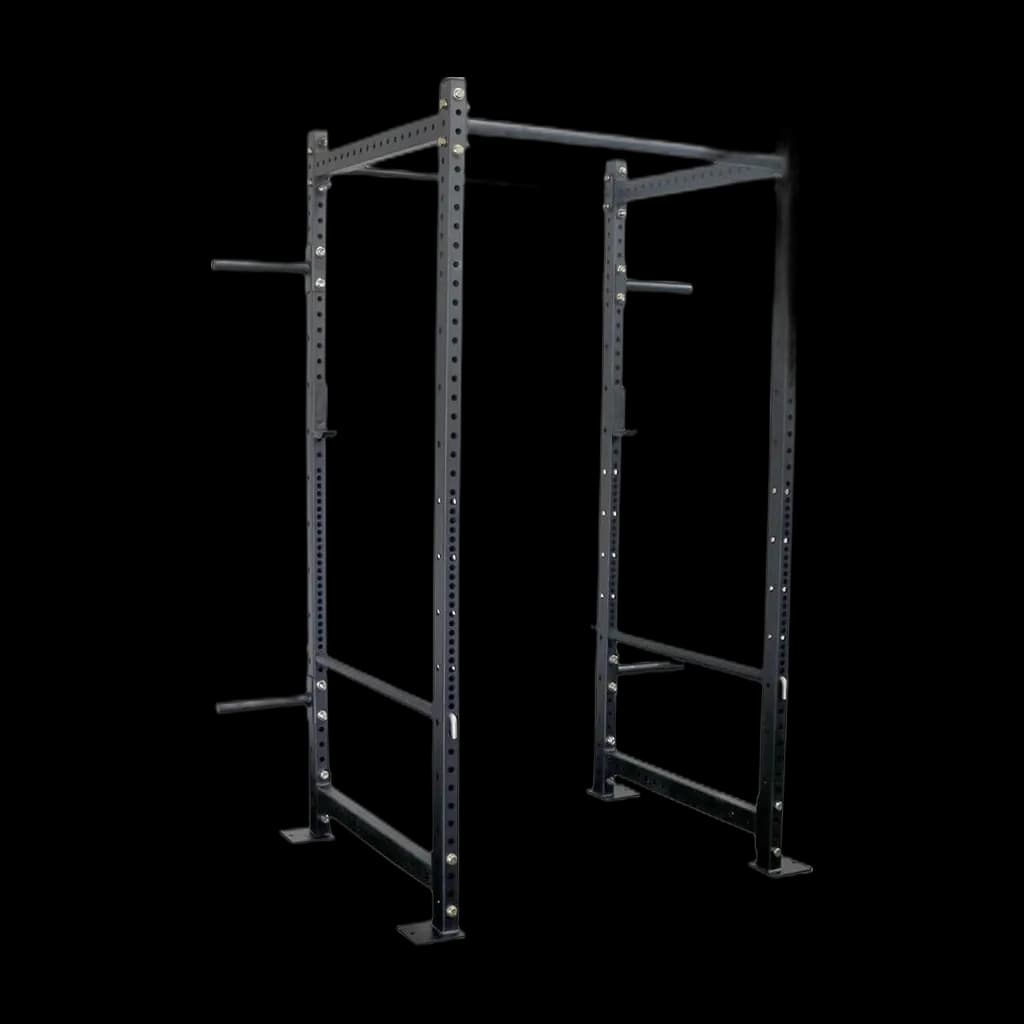
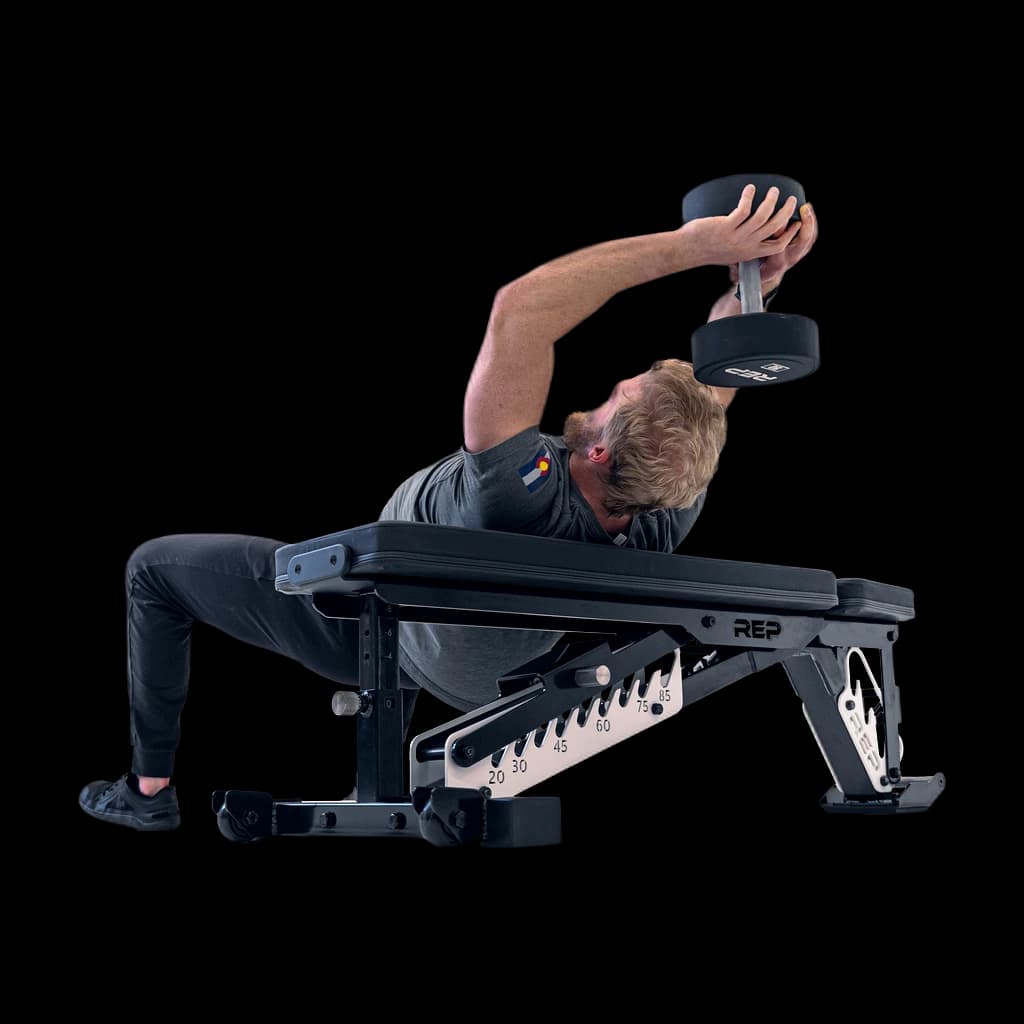
Best for: Lifters who bench 250+ lb and want zero pad-flex under heavy load
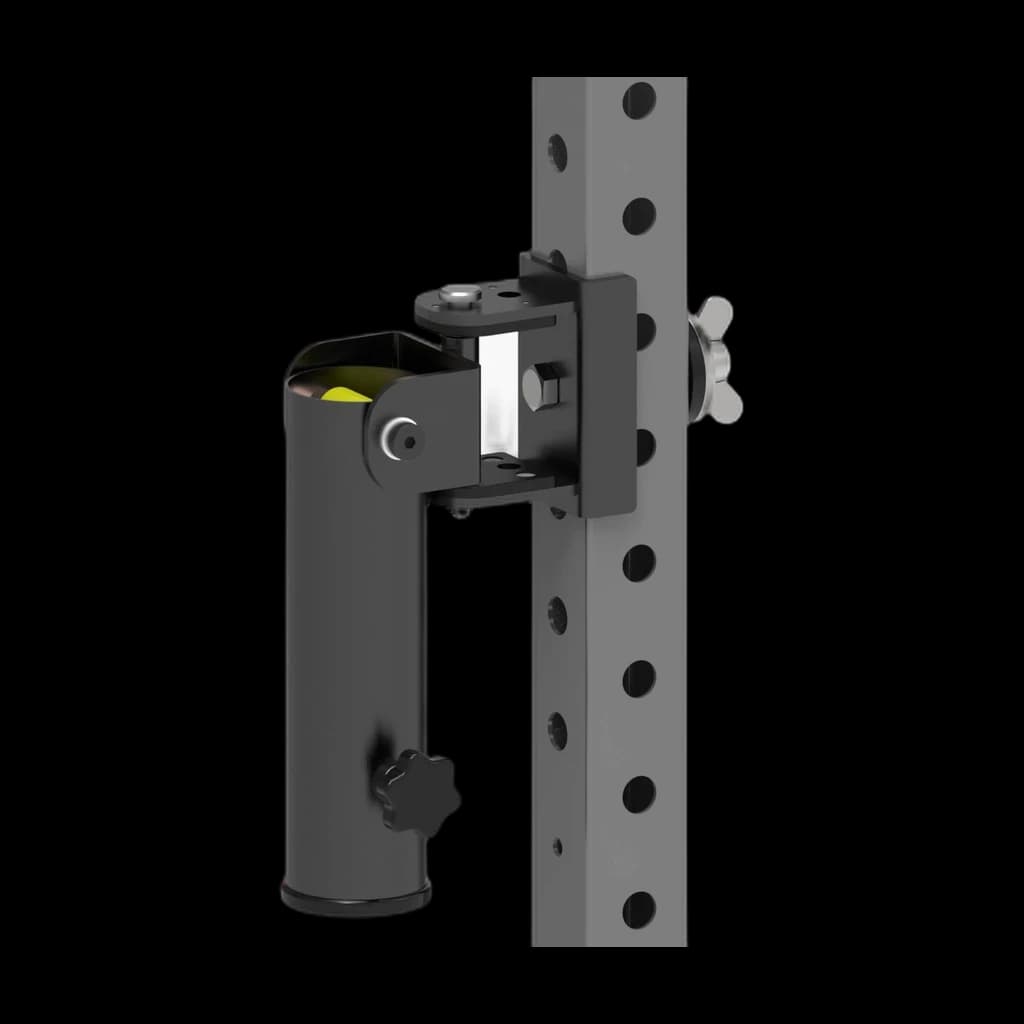
Best for: Lifters who want T-bar rows, landmine presses and rotational work without giving up floor space to a corner landmine unit. The sleeve liner matters if the bar in it is also your main barbell.
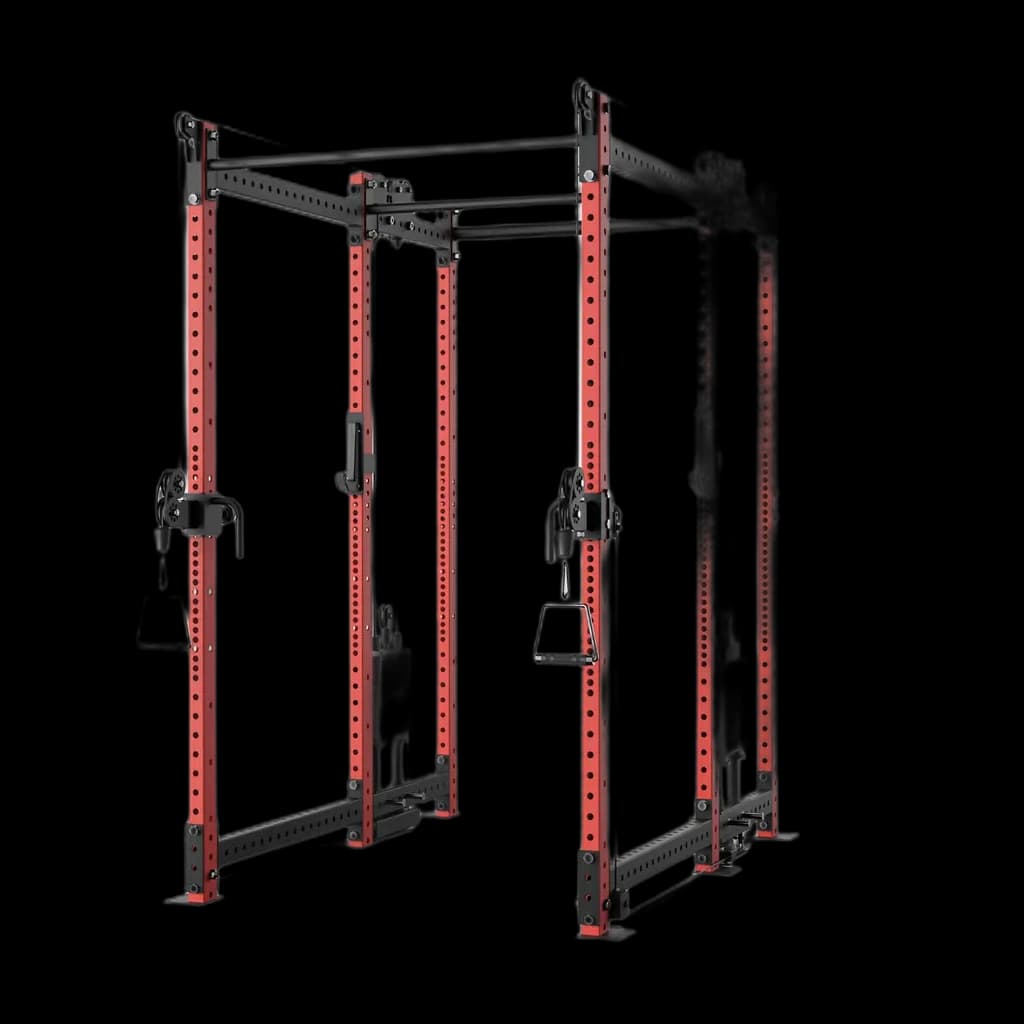
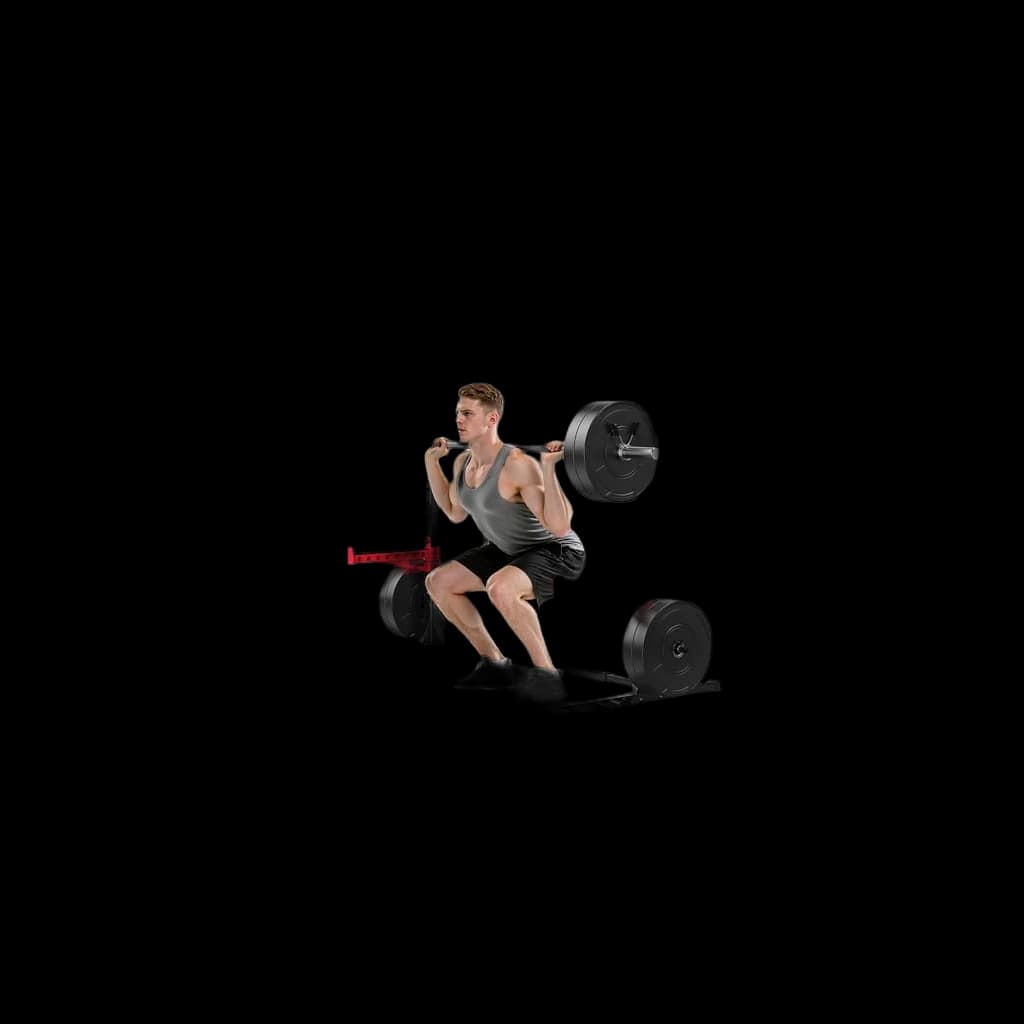
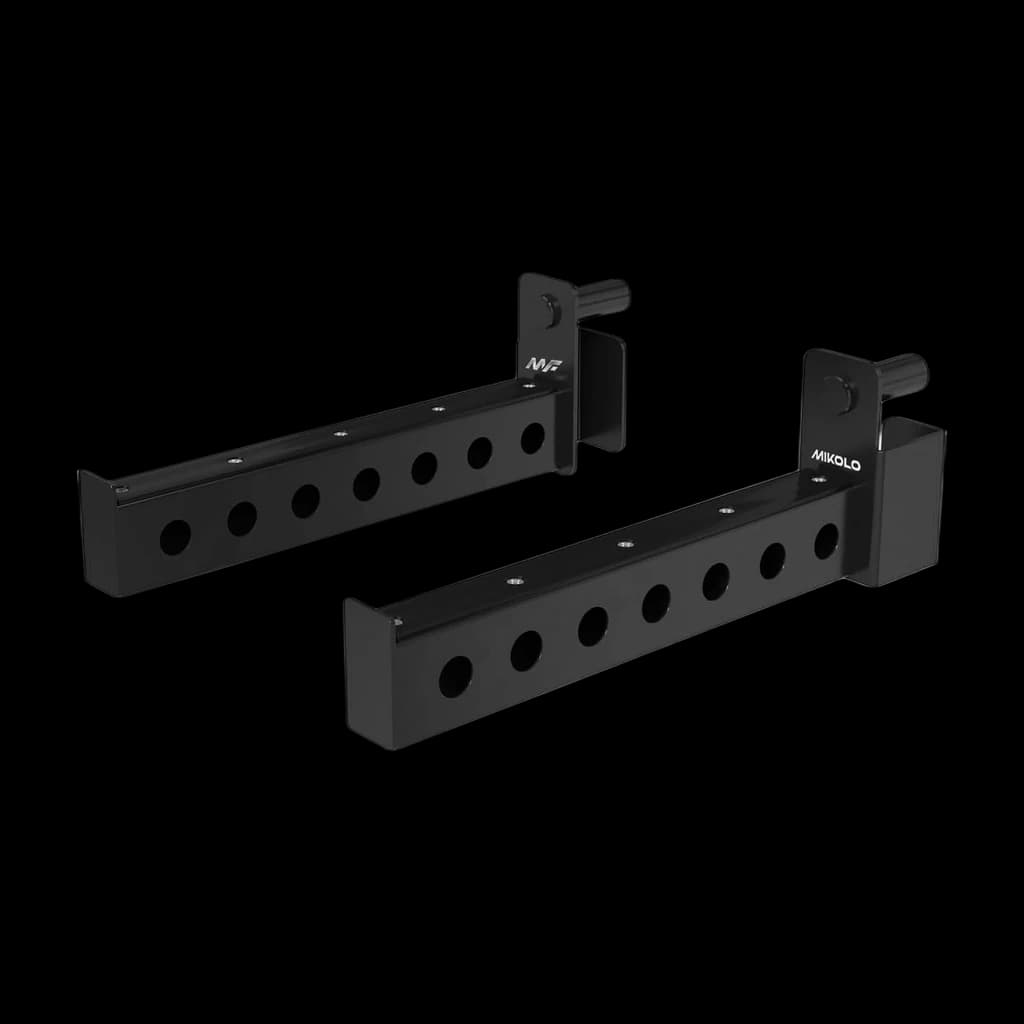
Best for: Anyone training alone who currently benches without a catch under the bar. Also the cheapest way to make a half rack usable for heavy squats.
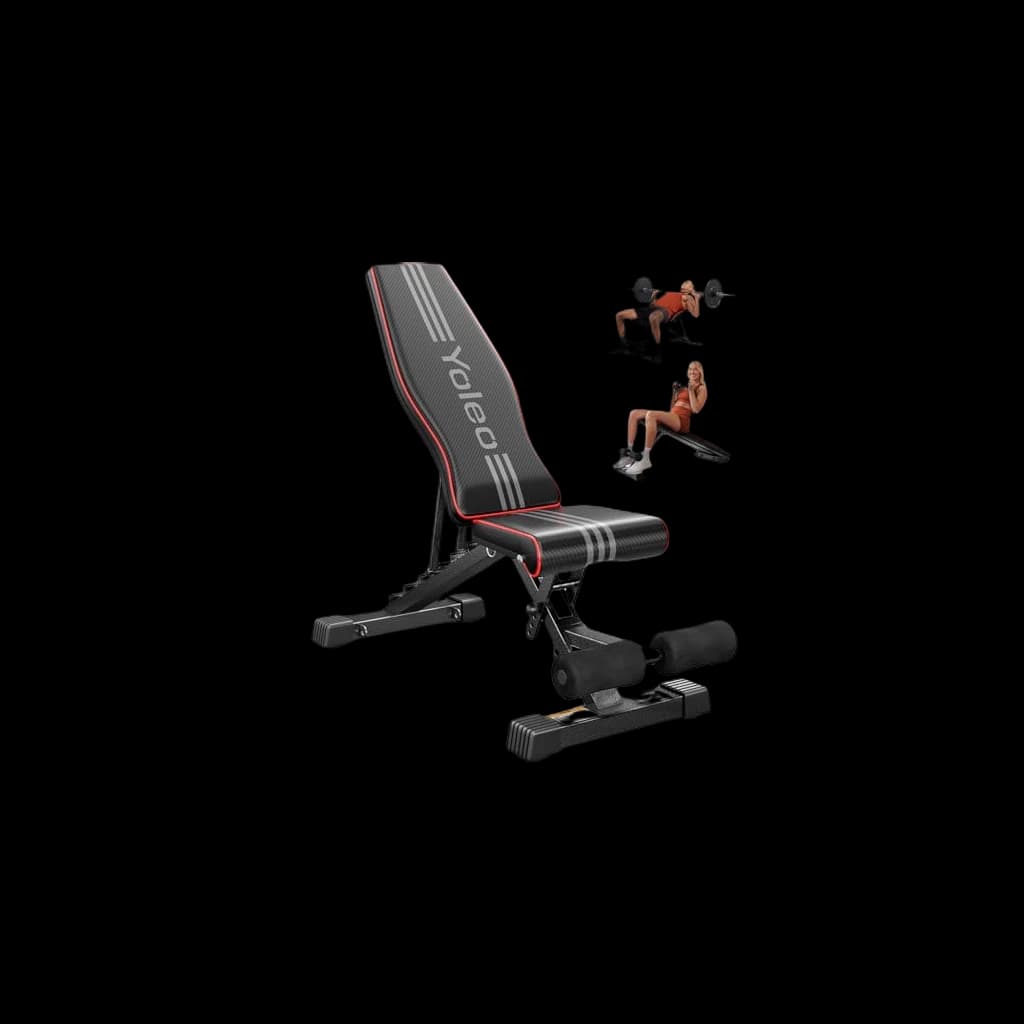
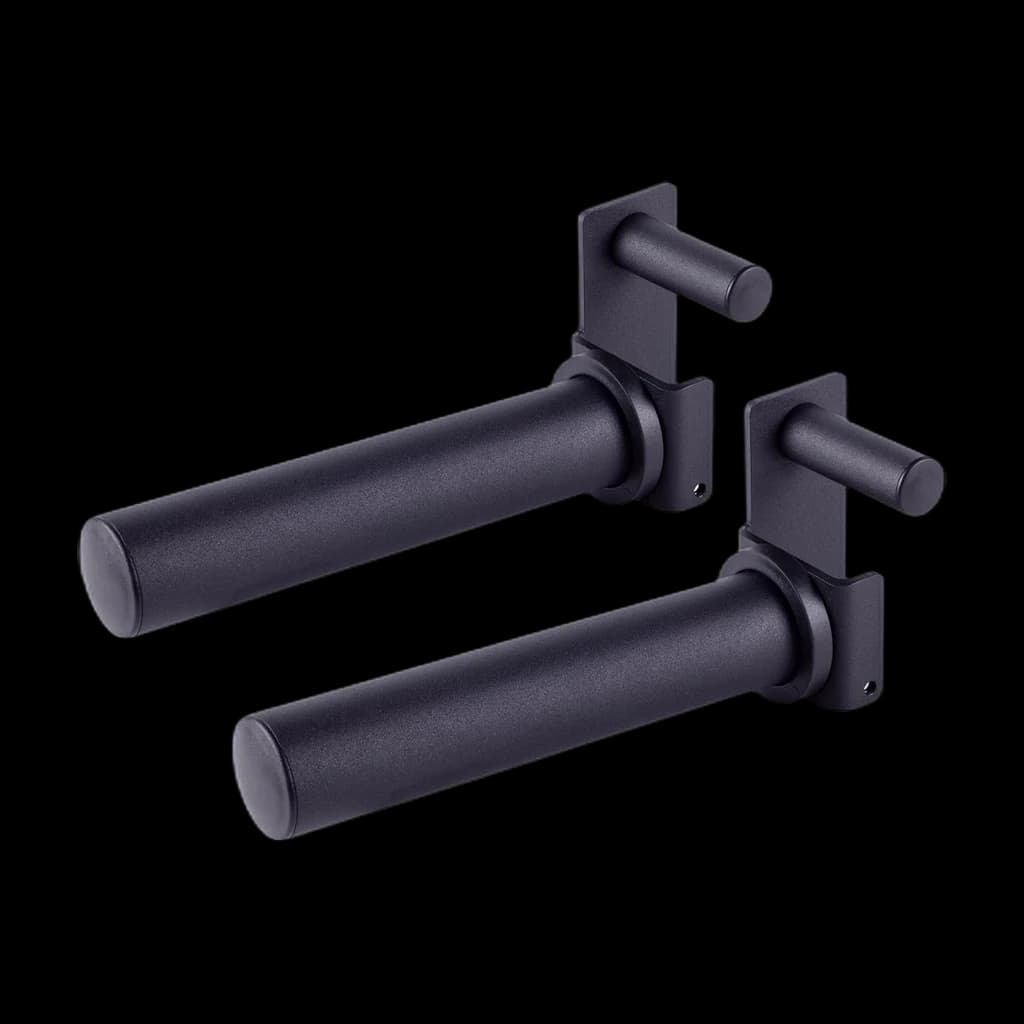
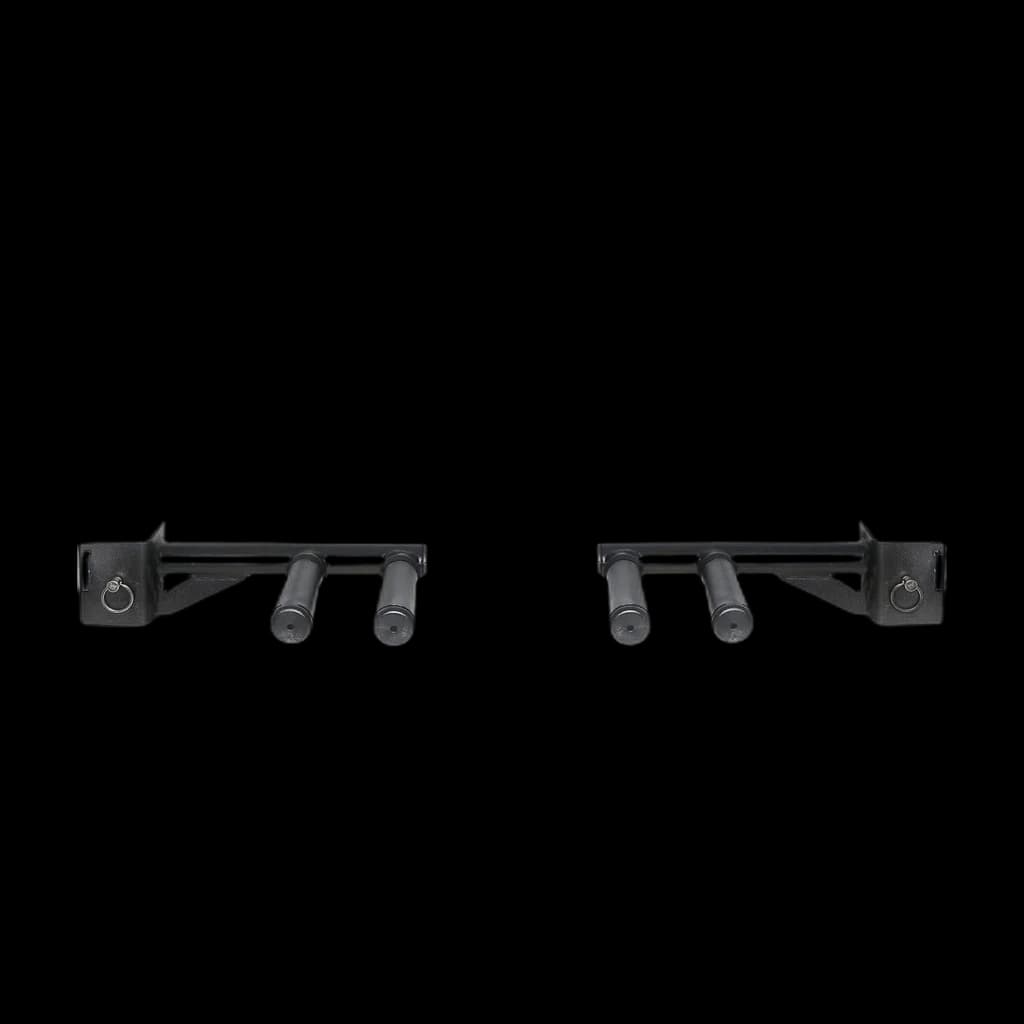
Best for: Anyone whose plates currently live on the floor, and anyone with an unbolted rack that shifts during dips or pull-ups. Loaded horns add ballast where you need it.
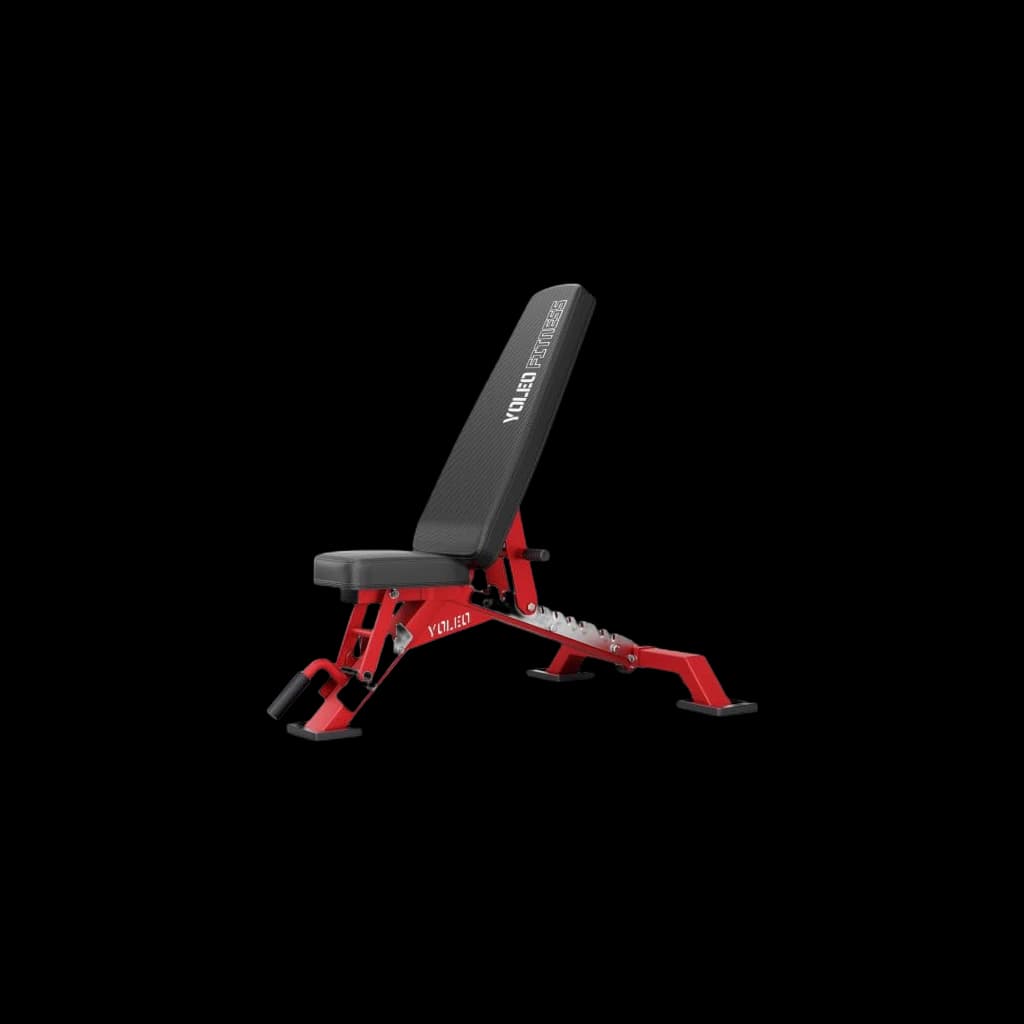
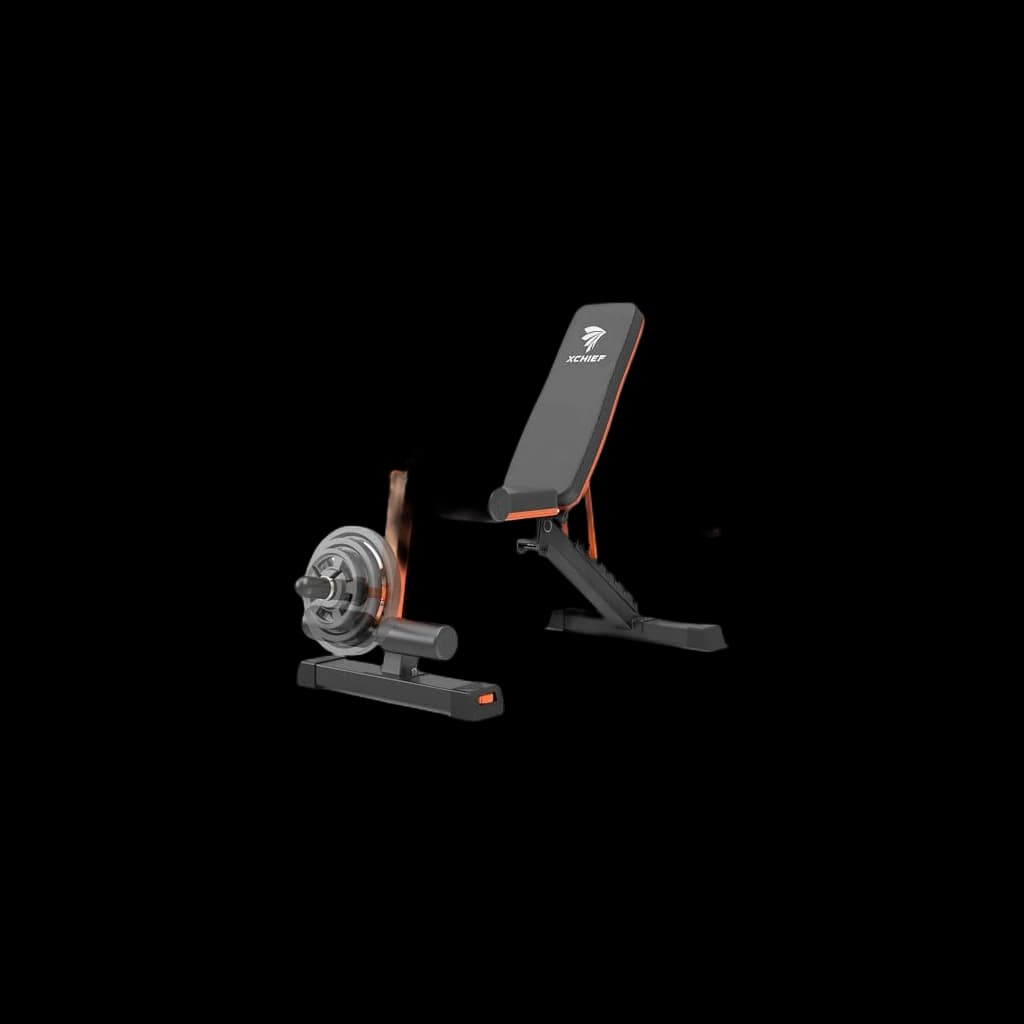
Best for: Anyone with a 2x2 rack who wants dips and inverted rows without buying a separate dip station or a power tower. The wide and narrow grip positions cover both chest-biased and triceps-biased dips.
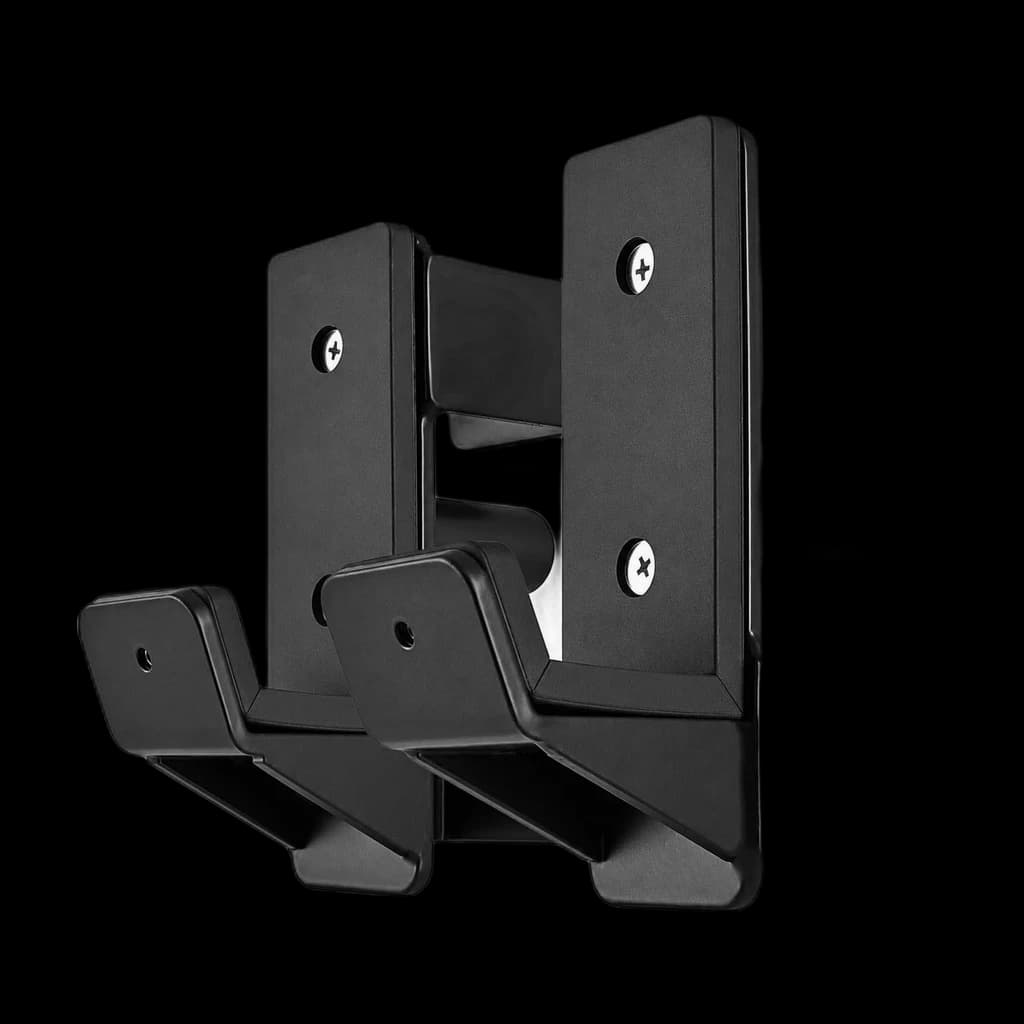
Best for: Anyone running one pair of J-cups across both bench and squat. A second pair left at bench-handoff height removes a height reset from every session that contains both.
Your next step